I’ve wanted to build a line source array for quite a while. The barrier has always been cost – a single driver might be $15 – $30, but build a speaker with 40 or 50 of those drivers and the price gets a little insane.
Well, the tweeters were a no-brainer. Parts Express has had 3/8″ mylar dome tweeters made by Onkyo for quite a while at $0.25 each. The performance is pretty good, but they were designed for a specific automotive application so the construction makes them impossible to flush mount. But, at only $15 for sixty of them, I’d find a way to make them work.
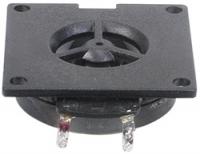
Power Handling: 20 watts RMS/40 watts max
VCdia: 3/8″
Znom: 4 ohms
Re: 3.50 ohms
Frequency range: 6,000-20,000 Hz
Fs: 4,200 Hz
SPL: 87 dB 2.83V/1m
It wasn’t until very recently that I found a bargain on woofers to make these speakers a reality. Made by Hi-Vi Research, these 3″ shielded mid/woofers have a square frame which makes them easier to mount in an array.
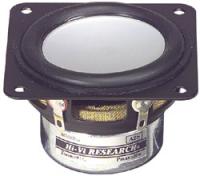
Power Handling: 15 watts rms / 30 watts peak
Znom: 6 ohm
VCdia: 3/4″
Re: 5.2 ohms
Frequency range: 85-9000 Hz
SPL: 82db 1w/1m
Vas: 0.05 cu ft
Qms: 4.68
Qes: 0.43
Qts: 0.39
Fs: 85 hz
Xmax: 2.85mm
So here is the plan: 80 inches tall with 30 tweeters and 20 woofers in each speaker for a total of 100 drivers, each channel a mirror image of the other. The tweeters would have to be back-mounted, so a 3/4″ round-over makes for a nice pseudo-horn effect. The backs are to be open and the speakers equalized to flat response in the actual listening environment.
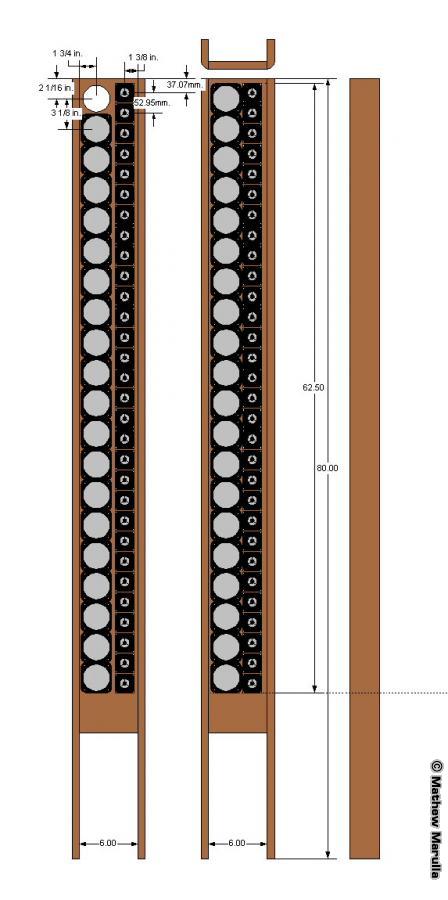
Line Source Plan
The early construction was nothing but lots and lots and lots of drilling. Sorry, no pics of that joy. First, mounting the tweeters.
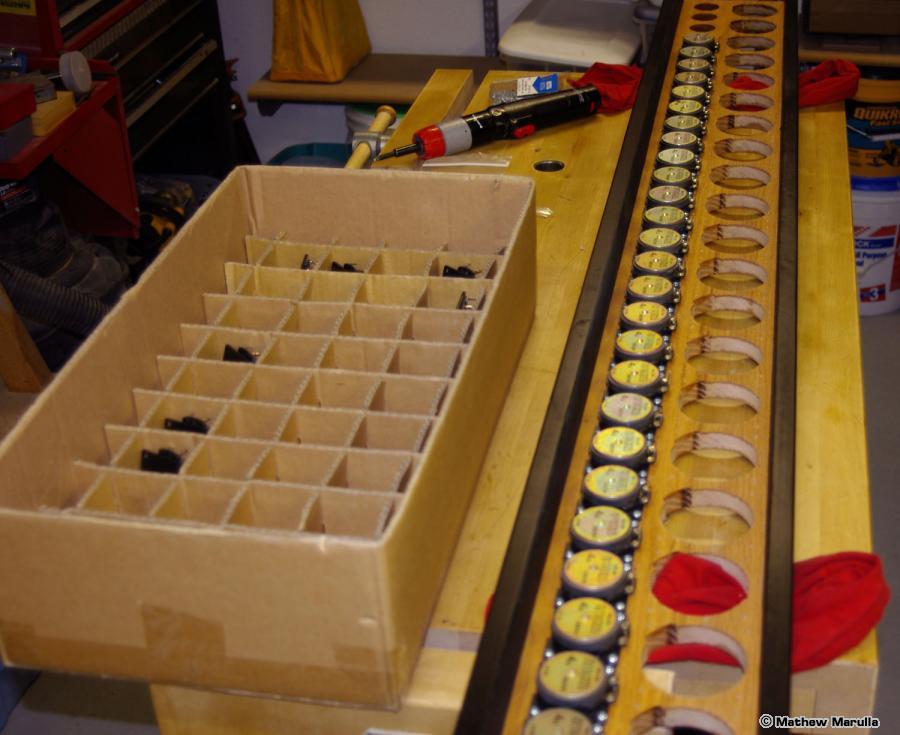
Mounting the Tweeters
Then, getting the woofers unpacked and ready for install.
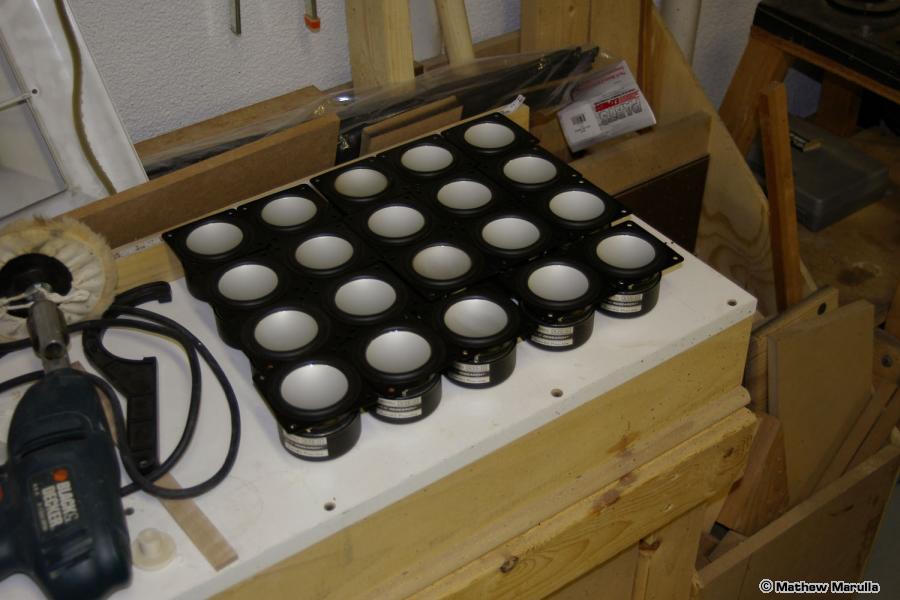
Woofers Ready for Mounting
The holes for the woofers were pretty tight, not leaving a lot of wiggle room to get all the spacing exact. By darkening the space between the woofers with a magic marker, a little misalignment goes unnoticed. You can see a nice detail of the rounded-over tweeter holes here too.
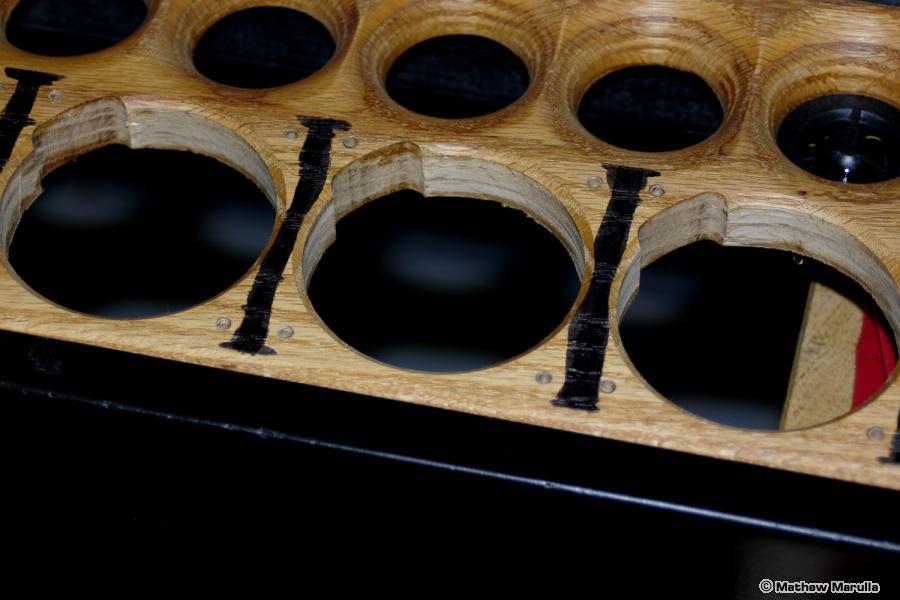
Darkening the Intra-Woofer Spaces
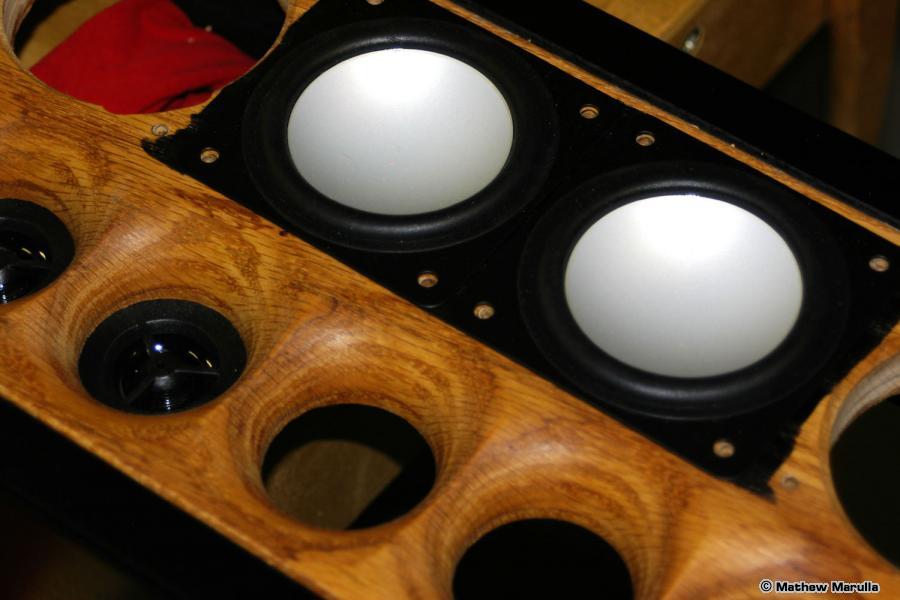
A Handy Cheat!
Mounting the woofers. The terminals do not fully clear the woofer holes, so I had to do “wire-as-you-go” while installing the woofers.
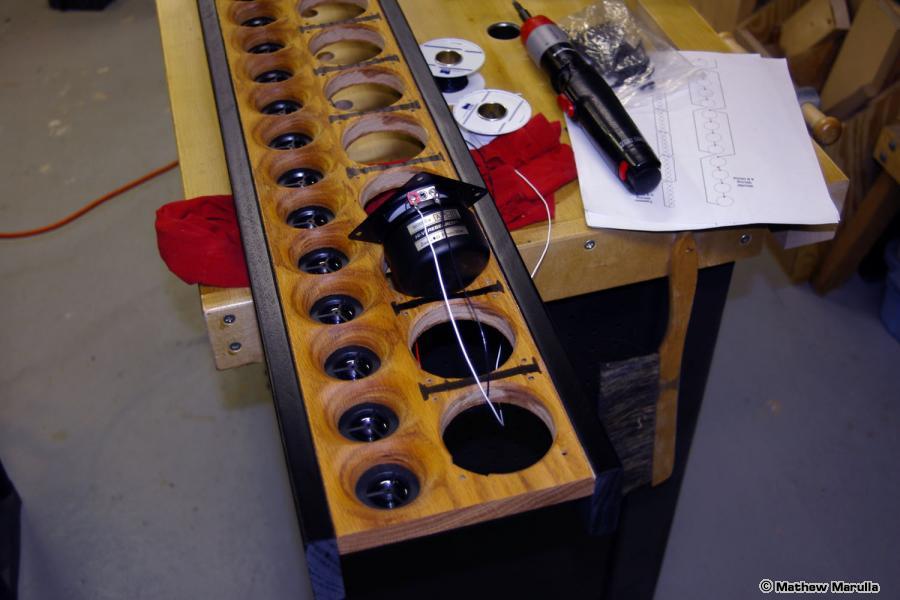
Mounting the Woofers
Everything finally mounted and wired. That’s only 100 driver holes, 400 mounting holes, and 200 soldered connections!
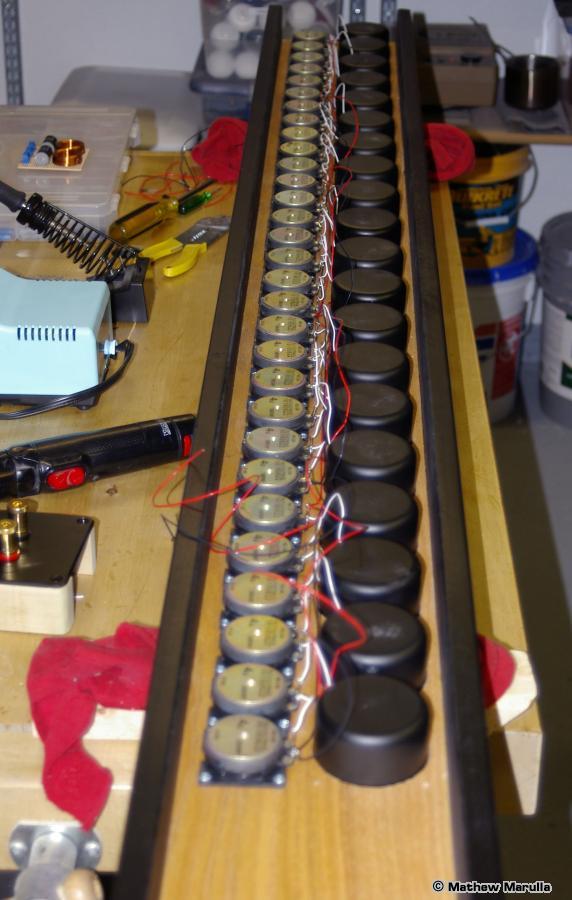
Everything Mounted and Wired
Here’s a shot of the crossover network (24db at 7500Hz), and the terminal panel.
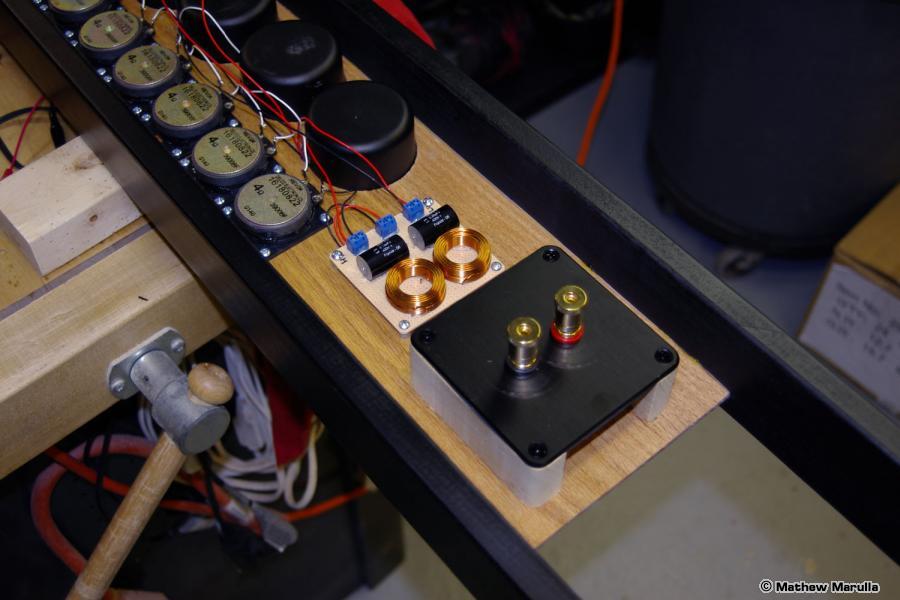
Crossover and Terminals
The base took some special consideration. After everything was mounted, I was surprised at the weight. I guess 50 drivers add up! Also, since they were over six feet tall, I needed to make sure that tipping would be a non-issue. So I used a pair of machine screws and dowel nuts per leg, and an oversize base.
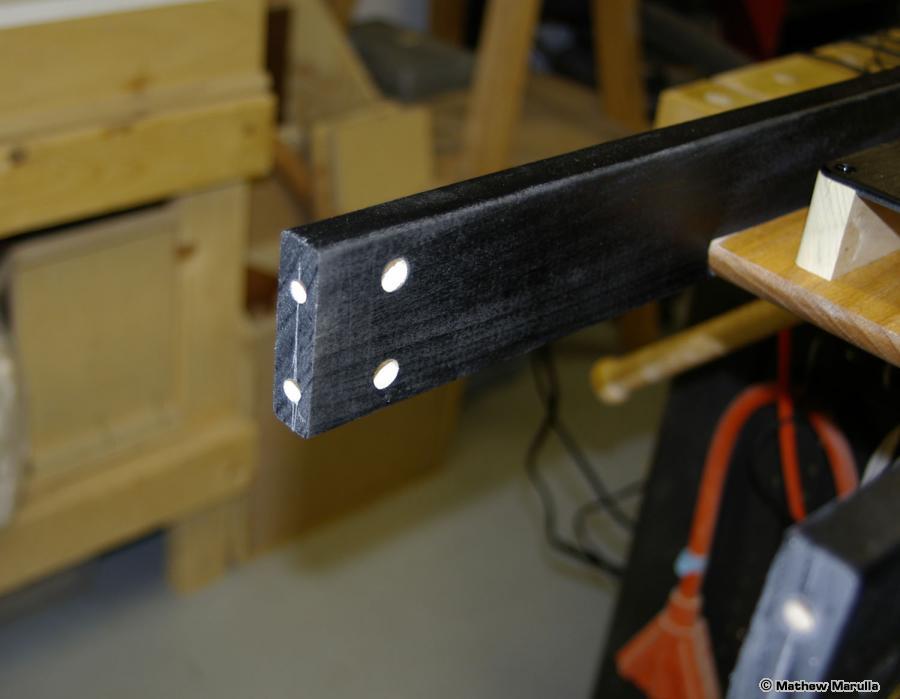
Holes for Dowel Nuts
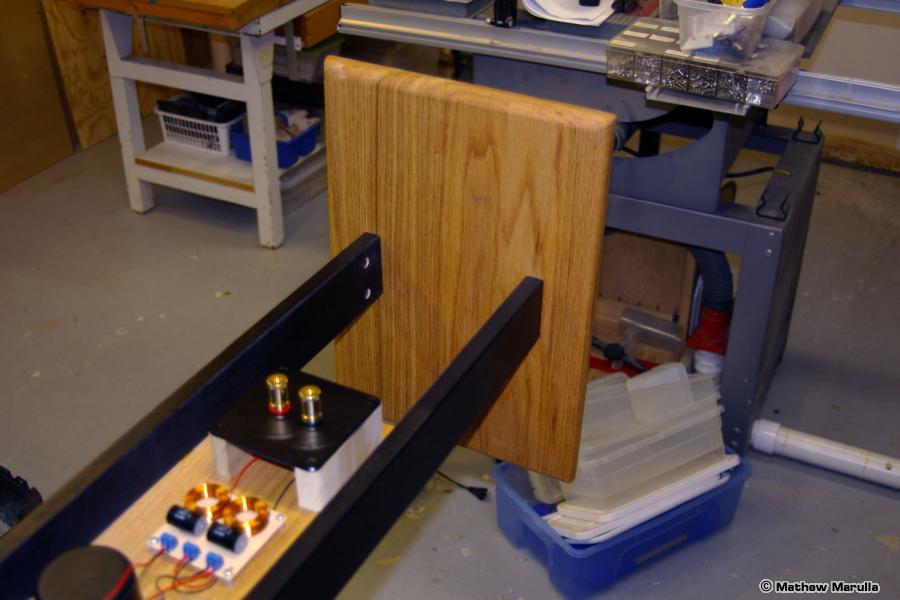
Base Attached
And that’s all, folks!
The sound was a little nasal at first, but I expected some equalization would be required. First a bass boost because the woofers, at 3″, were never designed to go very low. However, 20 of them together have almost as much area as a 15″ woofer. Handling the power of such a boost is easy since the input power is split 20 ways. Second, there was a little bump around the crossover point to tame. And finally, the tweeters were not exactly flat from the factory.
I used a pair of mono 1/3 octave equalizers from Audio Control, a TrueRTA spectrum analyzer and a Behringer calibrated microphone a to get things pretty flat, but after a few hours use it wandered from that goal by quite a bit. I let the drivers break in for about 200 hours and then re-equalized.
After getting dialed in, the sound is pretty amazing. Here are the finished speakers in my listening room.
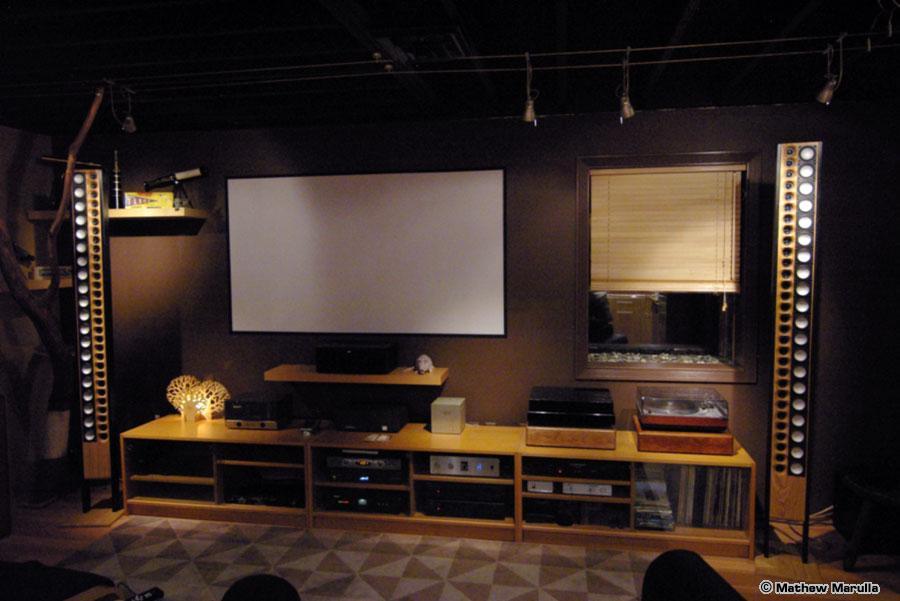
Line Source Speakers in Place